This report will have a tidy list of all of the software posted at the bottom if you want to quickly peruse through. For everyone else that enjoys some ramble, read on!
Very top of my useful bit of software is Joplin https://joplinapp.org/ It's a markdown editor that I use for pretty much anything involving text in some form or another. Quickly making lists, writing these reports or writing down technical information that requires sections to be marked as code. There is also a webclips addon that while I haven't used very much, the few times it's been very handy for quickly capturing information from web pages. Before this I used Simplenote and while it also has markdown functionality, it's hosted by someone else and I was looking to move as much as possible to self hosting. It also works on my phone so I'm able to check and edit things else where.
There really isn't to much more to say about it other than it's handy for keeping a ton of information and/or writing, easy to sync with just about anything.
Other notable text writing programs would be:
Focuswriter https://gottcode.org/focuswriter/ Good for distraction free writing.
Ghostwriter https://wereturtle.github.io/ghostwriter/ A minimal markdown editor.
Simplenote https://simplenote.com/ note keeping app that you need an account to sync, uses markdown but I never used that bit.
novelwriter https://novelwriter.io/ Side info for novelwriter, if you're on Windows the easiest way to install it is to install python3 with PATH enabled in setup then in powershell execute pip install novelWriter Linux land in terminal run sudo apt install python-3 and then pip3 install novelWriter
It's a very useful bit of software if you're going to write a large novel, it helps you keep track of a lot of information and stay organized.
Next part I should talk about is syncing files among machines, I have a desktop, laptop and a phone. The desktop and laptop have general files to keep in sync with all of them but I do want things like Joplin to be able to sync to all three. I tried to use Dropbox for a while as Google's Drive was not something I was interested in as I've been slowly removing google bits from my digital day to day. Nothing inherently wrong with how Dropbox worked it just didn't give me enough granular control over what I wanted, for general single folder sync, would of been perfect. I did find Syncthing https://syncthing.net/ and it fit everything I needed and wanted perfectly. I could declare different folders to sync and the big bonus, it's something I could self host, you don't even need a central server to self host either, it's peer to peer so no middle man bits, just need two computer you want to sync a folder, or folders to. Setup was really easy and wish I found this bit of software sooner! And while you don't need a server, I run an instance of syncthing on my server anyway to be a kind of 2nd hand back up.
Now if you need something more manual for syncing or manual I can recommend FreeFileSync https://freefilesync.org/ it's pretty much Rsync in GUI form which I like, you can also save sync jobs and name them so when you open up a job it's options easily readable rather than trying to remember what the long list of option commands.
"Is recursive -r or -R...wait why are there both -a and -A in here too?"
This has happened a few times and having to reread the documentation for a terminal command gets old after the 2nd time. FreeFileSync does all the things you'd expect, Local files & SSH remote files. There are more fancy features but that's all I really use it for as I have an external HDD that I use to keep my photo library on and after a shoot I dump all the images onto it, then sync the drive to my server which does all the backing up in background for me. Also the visual comparison that lets me skim to make sure things should be running as they should is just a nice little quality of life detail.
For general automated backup system of my desktop and laptop is Duplicati https://www.duplicati.com/ An automated backup system that can send backups in lots of different remote ways. Used to use DejaDup on Linux and I'm aware that Windows has it's own backup system but I stuck with Duplicati as it still allowed me to use it across whatever OS I want. Also it lets me recover a backup from a Linux backup onto Windows machine and vice versa if there is something I need.
KeePassXC https://keepassxc.org/ It keeps your passwords. That's it really. Has everything I need and has some nice password generation features, a dark theme, looks clean. Keep backups of your keepass file and nothing to worry over. The idea of someone else hosting my passwords is simply terrifying to me, companies get broken into all the time, I don't need that looming stress.
You'll notice a bit of a theme that I'm slightly obsessive over self-hosting as much as possible. Well here comes some more! I only recently came across this but with what I've messed with of so far seems very promising. I currently use things such as Discord, Telegram and whatever dozen accounts for messaging programs I've used in the past. Naturally I have to find a way to do it myself in some way. First on the list is voice chat, for that I've been using Mumble https://www.mumble.com/ it's comes bare bones so it's a small task to setup but the voice quality is so much better. Discord or Telegram will always hit you with the robot voice sooner or later. This is something I have running in a jail within my TrueNAS server that I'll talk about more later.
As for messaging and way more there is RetroShare https://retroshare.cc/ this is an interesting beast, does way more than I'm really needing but it's something that I'm hoping to slowly introduce at least to my close friends and family into using. A quick fire list of details is chat rooms, email-ish system, forums and a post board in a reddit style voting system. It's decentralized so no need to rely on someones server, it just requires at least two people to connect to one another and you can keep it to as small or as big of a network as you want. Some NAT and UPnP router stuff to make sure it works but as my router has UPnP on mostly auto it worked fine out of the box. There is a list for voice and video in the future but I've got Mumble for voice and video isn't something on my need-to-have list.
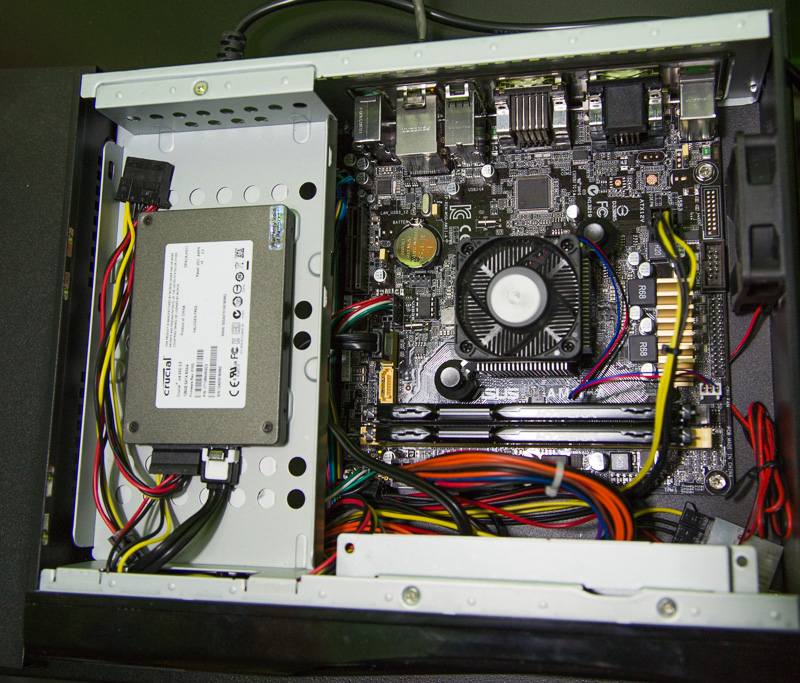
As mentioned earlier a lot of this self hosting is done with my server, which runs TrueNAS https://www.truenas.com/ previously known as FreeNAS. Before using TrueNAS I just spun up a Debian box but it was only a file hosting system, doing anything extra like virtualization or running instances was a hassle. I covered quite a few details in report 6 about the file sharing so I'll just cover the other stuff I self host. So currently on my server there are jail instances running for Mumble, Minecraft, a ffmpeg specific jail, Nextcloud, Plex, Syncthing, Zoneminder and Deluge.
It's doing quite a lot of utility for me without having to fuss to much and the WebGUI of TrueNAS makes it easier to quickly see the status of everything going on and still be able to jump into the shell of an jail. Just in case you're unaware a jail is a virtualized instance of the OS, very little overhead and lets you create and destroy them without having to worry about the base OS. This is a function of FreeBSD which TrueNAS runs.
Nextcloud https://nextcloud.com/ is a strange use case for me as I tried to use it as an all in one stop for just about everything. These days however It's simply a WebDAV server for my phone to keep contacts and events, just another tiny detail to make sure Google isn't holding enough of my personal information as is.
Both FFmpeg https://ffmpeg.org/ and Plex https://www.plex.tv/ I use together in a way. I'm not able to do this with everything but I prefer to buy the bluray of whatever movie or series and then take MakeMKV http://www.makemkv.com/ to turn it into something FFmpeg can chew away on the server which is then sent to a directory Plex can read it. Buying the optical media for what you want is more expensive, yes. But I've run into a movie or a series being kicked off of whatever streaming platform just for it to end up in a completely different one and that is simply frustrating, everything is far to fractured with streaming services and I'm not going to pay for all of them. Once you buy a disc, it's there, the bluray won't break down magically one day just for purpray to come out the next day and have to buy it again. I don't watch many shows or movies these days anyway so it's not like it's a huge budget anyway.
Zoneminder https://www.zoneminder.com/ is a CCTV NVR. You'll have to double check what kinds of cameras to buy and the WebGUI is a touch fussy. I'm not sure if it's my server or cameras but it's not quite smooth or easy to use. I'm looking to replace it with something else but currently all the other options are way more expensive or come with severe privacy concerns. For now though it's handy enough to slap some cameras around and have them record.
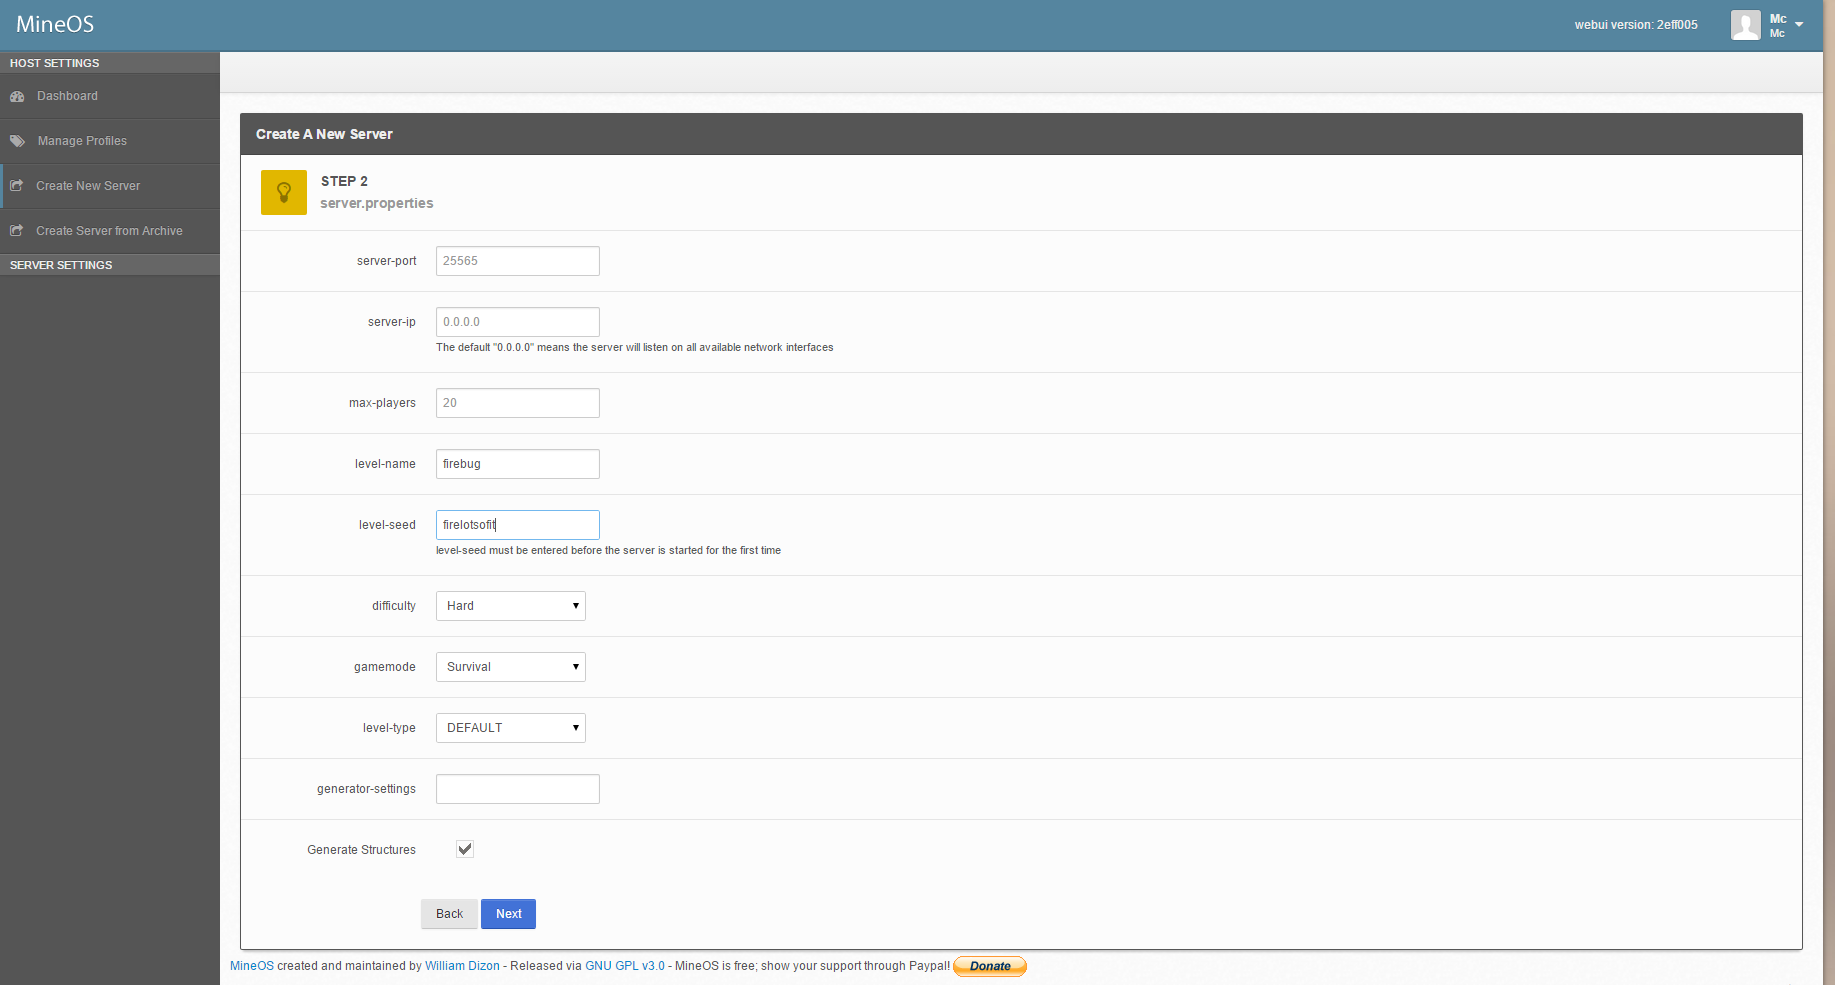
MineOS https://minecraft.codeemo.com/ I've made a previous post before about this bit of software and glad it's still around.
Deluge https://www.deluge-torrent.org/ While I’m sure the image of anything torrent is tainted with the look of “that’s for pirates” is a stain that will never go away there is plenty of things that still use it. That list is rather exhaustive so won’t clutter it up here.
There are other home server options available, make sure to do research for what you need as that's beyond the scope of this ramble.
Here is a quick fire list of programs I use as well.
mpv https://mpv.io/ A clean video player. I know a lot of people stick to VLC but in both Windows and Linux VLC gave me issues now and then but so far mpv has been flawless. I keep both them installed anyway.
Strawberry music player https://www.strawberrymusicplayer.org/ This is a fork of Clementine, for the most part there isn't anything drastically different. Updated fairly regularly.
FFmpeg Batch AV converter https://ffmpeg-batch.sourceforge.io/ take a beast of a CLI tool and slap a GUI to it. What's nice is that it gives you the CLI output so you don't need to always use the GUI.
Kabuu Audio Converter https://kabuusoft.com/product/detail/2/kabuu-audio-converter a simple audio converter tool, nothing I use regularly but very handy for when it's needed.
Audacity https://www.audacityteam.org/ Audio editing software, good for editing down podcasts or samples of sounds. I've used this bit of software for a super long time.
youtube-dl https://youtube-dl.org/ A super handy utility to download and make back ups of youtube videos, or almost any video on a webpage.
Everything in here is cross platform for the most part. I'll be making another post that is much more narrowed in on Windows specific programs. Along with other nit picky details in setup or usage. If there are changes to this list I'll make update notes at the bottom.
Joplin - https://joplinapp.org/
Focuswriter - https://gottcode.org/focuswriter/
Ghostwriter - https://wereturtle.github.io/ghostwriter/
Simplenote - https://simplenote.com/
novelwriter - https://novelwriter.io/
Syncthing - https://syncthing.net/
FreeFileSync - https://freefilesync.org/
Duplicati - https://www.duplicati.com/
KeePassXC - https://keepassxc.org/
Mumble - https://www.mumble.com/
Retroshare - https://retroshare.cc/
TrueNAS - https://www.truenas.com/
Nextcloud - https://nextcloud.com/
FFmpeg - https://ffmpeg.org/
Plex - https://www.plex.tv/
MakeMKV - http://www.makemkv.com/
Zoneminder - https://www.zoneminder.com/
MineOS - https://minecraft.codeemo.com/
Deluge - https://www.deluge-torrent.org/
mpv - https://mpv.io/
Strawberry music player - https://www.strawberrymusicplayer.org/
FFmpeg Batch AV converter - https://ffmpeg-batch.sourceforge.io/
Kabuu - https://kabuusoft.com/product/detail/2/kabuu-audio-converter
Audacity - https://www.audacityteam.org/
Youtube-dl - https://youtube-dl.org/
Full disclaimer, nothing here is something I was paid to say or link to. These are things I simply find useful in my day to day.